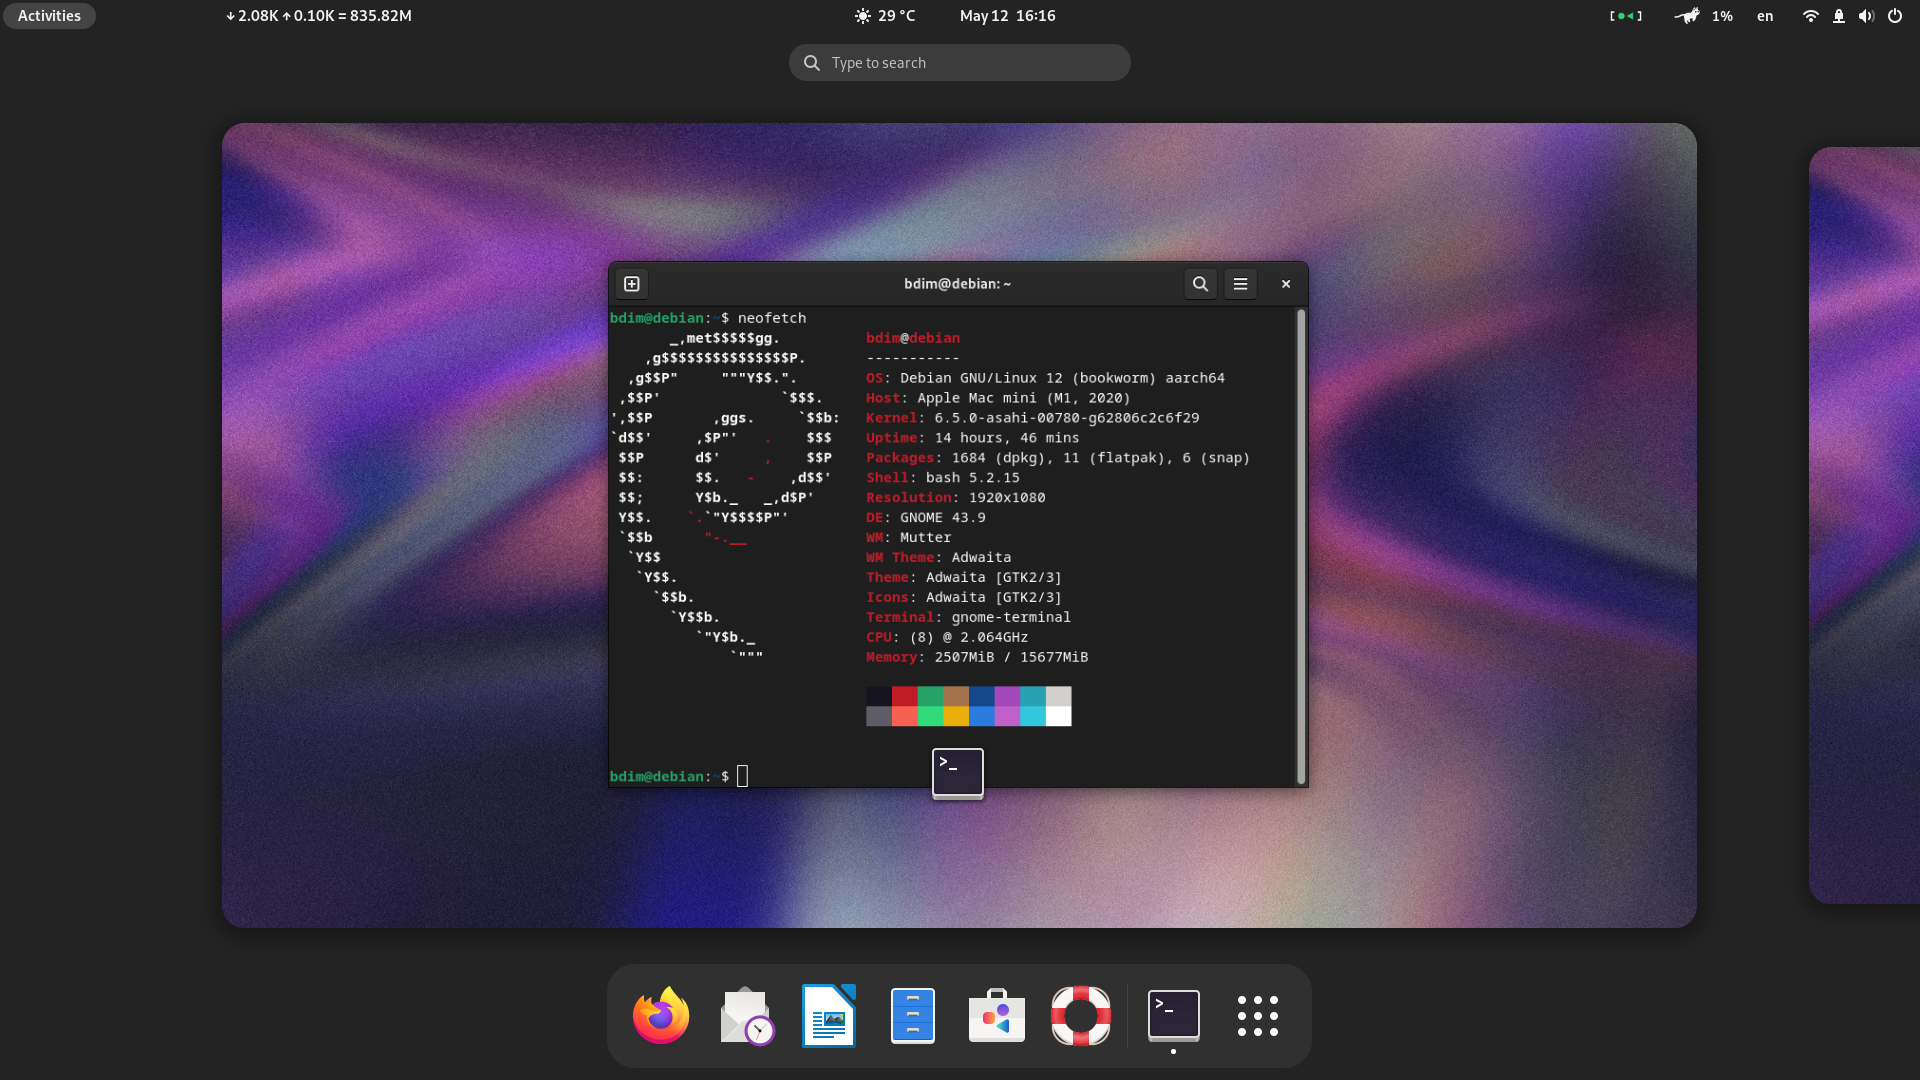
Installation Memo for Debian GNOME on Mac Mini M1
I’ve long heard about Asahi Linux, and today I gave it a try, and it’s indeed impressive. Previously, I followed the official documentation to install Fedora, only to find out there are mature scripts available for direct Debian installation. Today, I finally mustered the courage to try my hand at installing on Mac, start the challenge like a newbie!
You can:
-
Follow the official installation guide, which is quite detailed, just follow the steps.
-
Refer to a YouTube blogger’s installation video, which is also comprehensive.
My Environment:
       _,met$$$$$gg.          bdim@debian
    ,g$$$$$$$$$$$$$$$P.       -----------
  ,g$$P"     """Y$$.".        OS: Debian GNU/Linux 12 (bookworm) aarch64
 ,$$P'              `$$$.     Host: Apple Mac mini (M1, 2020)
',$$P       ,ggs.     `$$b:   Kernel: 6.5.0-asahi-00780-g62806c2c6f29
`d$$'     ,$P"'   .    $$$    Uptime: 1 hour, 8 mins
 $$P      d$'     ,    $$P    Packages: 1680 (dpkg), 11 (flatpak), 6 (snap)
 $$:      $$.   -    ,d$$'    Shell: bash 5.2.15
 $$;      Y$b._   _,d$P'      Resolution: 1920x1080
 Y$$.    `.`"Y$$$$P"'         DE: GNOME 43.9
 `$$b      "-.__              WM: Mutter
  `Y$$                        WM Theme: Adwaita
   `Y$$.                      Theme: Adwaita [GTK2/3]
     `$$b.                    Icons: Adwaita [GTK2/3]
       `Y$$b.                 Terminal: gnome-terminal
          `"Y$b._             CPU: (8) @ 2.064GHz
              `"""            Memory: 6684MiB / 15677MiB
Installation
First, run the following installation script:
curl -sL https://tg.st/d | sh
The script will guide you through what needs to be done. Just follow the steps.
After installation, shut down your Mac Mini. Then, long-press the power button to enter the boot page, and choose the Asahi Linux you just installed. Follow the prompts to enter the password and confirm some information.
After rebooting, you’ll enter the command-line interface.
Set Root Password
The first thing to do after logging in is to set the root password:
passwd
pwconv
Connect to WIFI
Manually connect to WIFI:
nano /etc/wpa_supplicant/wpa_supplicant.conf
[!CAUTION]
If you’re more comfortable with vi, you can use vi. If using nano, you can save with CTRL + O and exit with CTRL + X.
Enter the WIFI name into ssid and the password into psk, for example:
$ cat /etc/wpa_supplicant/wpa_supplicant.conf
network={
        ssid="ZR-1312"
        scan_ssid=1
        key_mgmt=WPA-PSK
        psk="abc4001001111"
}
Then start WIFI connection:
ifup wlan0
After seeing the internal network address successfully assigned, try pinging any address to test the network connection, which is crucial. Then activate the newly connected network interface:
nano /etc/network/interfaces
Remove the # in front of allow-hotplug, for example:
$ cat  /etc/network/interfaces
# interfaces(5) file used by ifup(8) and ifdown(8)
# Include files from /etc/network/interfaces.d:

source /etc/network/interfaces.d/*

allow-hotplug eth0
iface eth0 inet dhcp

allow-hotplug wlan0 # Remove the # here
#iface wlan0 inet dhcp
        wpa-conf /etc/wpa_supplicant/wpa_supplicant.conf
Create User
Next, create a user (we shouldn’t always use root to log in):
useradd -m -c 'your name' -s /bin/bash username
Replace your name and username with yours.
Then set the password:
passwd username
Change Source (Optional)
Now, let’s manually install the desktop system. But before that, if you don’t have a router or any other device to quickly connect to the Debian official source, you need to modify apt’s source. Here I use my pastebin, it’s public, you can use it too, https://pb.bdim.moe. If you’re storing sensitive information, I recommend setting a short lifespan and using a password for verification, or generating a long link.
Copy the content into it, then you can get its content. However, note that when using sources like Tsinghua, you need to check “Force secure updates using mirrors”.
curl https://pb.bdim.moe/1234 >> source.txt

cp source.txt /etc/apt/source.list
This changes the source. Try updating to see if there’s any problem:
apt update && apt upgrade
Install GNOME
If your network is fine, we can start installing the graphical desktop. You can choose KDE like the official or the YouTube blogger mentioned above, or choose GNOME like me. If you choose GNOME, let’s begin!
It’s very simple:
sudo apt install task-gnome-desktop
After successful installation, shut down or restart directly, and you’ll see the normal graphical desktop!
WIFI Issue
Many might encounter a situation like mine, where after entering the system, the WIFI panel is blank, but surprisingly, there’s a network. No matter how you toggle the WIFI button, it doesn’t work. Here’s a post that might help you. Simply put:
vim /etc/network/interfaces # Install vim if you don't have it
Comment out these two:
# interfaces(5) file used by ifup(8) and ifdown(8)

# Include files from /etc/network/interfaces.d:

source /etc/network/interfaces.d/*

allow-hotplug eth0
iface eth0 inet dhcp

#allow-hotplug wlan0 # Here
#iface wlan0 inet dhcp # And here
        wpa-conf /etc/wpa_supplicant/wpa_supplicant.conf
Also, here:
vim /etc/NetworkManager/NetworkManager.conf
Change it to:
[ifupdown]
managed=true
After the operation, you need to restart for the changes to take effect.
Time Synchronization Issue
This is also very simple:
apt install systemd-timesyncd
Now you should see the time synchronized accurately. However, you may need to go to the settings to modify your time zone. If you want to use location, you need to open location permissions in Privacy first, and then enable automatic location acquisition in the time settings. But it’s recommended to set it manually.
Install Telegram
As of now, only snapcraft has specifically supported the Asahi version of Telegram.
There’s nothing else particularly noteworthy. For further details, you can refer to my article:
Debian GNOME Installation Configuration Memo
Show

Reference Links: